
Deviled Eggs: Secrets To The Creamiest, Most Flavorful Recipe Ever
Remember that Sunday afternoon at Grandma’s house? The dining table covered with a patchwork of dishes, and there they were—those perfectly halved eggs with their creamy, yellow centers sprinkled with paprika. One bite of those deviled eggs transported you to comfort and joy. Whether you’re a longtime fan or new to this classic appetizer, deviled eggs remain one of the most beloved and versatile finger foods across generations.
Deviled eggs have graced tables at family gatherings, holiday celebrations, and picnics for decades. Their combination of simplicity and satisfaction makes them an enduring favorite. But what makes the perfect deviled egg? How can you elevate this classic dish to impress your guests? And what variations might surprise even the most traditional palates?
In this comprehensive guide, we’ll explore everything you need to know about deviled eggs—from perfecting the basic recipe to creative variations that will have your guests begging for your secret. Whether you’re preparing for Easter brunch, a summer potluck, or simply craving this protein-packed snack, you’re about to become a deviled egg expert.
The Perfect Classic Deviled Eggs Recipe
The foundation of any great deviled eggs starts with mastering the classic recipe. This timeless version serves as the base for all creative variations and remains a crowd-pleaser at any gathering.
The Science of Hard-Boiling Eggs
The journey to perfect deviled eggs begins with properly boiled eggs. The ideal hard-boiled egg has a fully set but creamy yolk with no grayish-green ring (which indicates overcooking).
For foolproof hard-boiled eggs:
- Start with eggs at room temperature (let them sit out for 30 minutes before cooking)
- Place eggs in a single layer in a saucepan and cover with cold water (about 1 inch above the eggs)
- Bring water to a rolling boil, then reduce to a simmer
- Cover and cook for exactly 9 minutes for medium eggs or 12 minutes for large eggs
- Transfer immediately to an ice bath to stop cooking
- Let cool completely before peeling under running water
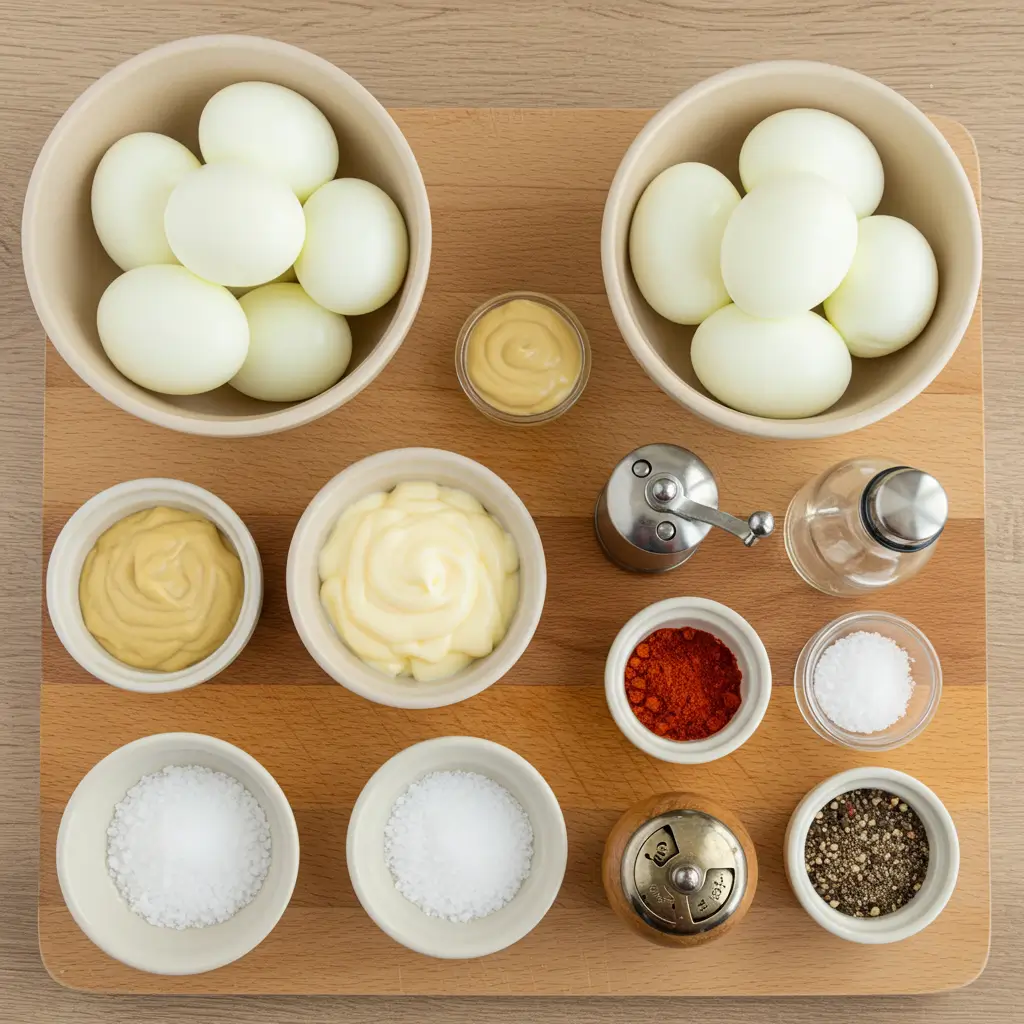
Classic Deviled Eggs Ingredients
| Ingredient | Amount | Notes |
|---|---|---|
| Hard-boiled eggs | 12 | Room temperature for easier peeling |
| Mayonnaise | 1/4 cup | Use quality mayo for best flavor |
| Dijon mustard | 2 teaspoons | Adds tang without overwhelming |
| White vinegar | 1 teaspoon | Brightens the flavor |
| Salt | 1/4 teaspoon | Adjust to taste |
| Black pepper | 1/8 teaspoon | Freshly ground recommended |
| Paprika | For garnish | Sweet Hungarian paprika works best |
| Fresh herbs (optional) | 1 tablespoon | Chives or dill, finely chopped |
Step-by-Step Preparation Method
- Halve the eggs: Cut each egg in half lengthwise.
- Remove the yolks: Gently squeeze or scoop the yolks into a bowl.
- Prepare the filling: Mash the yolks with a fork until no large lumps remain. Add mayonnaise, mustard, vinegar, salt, and pepper. Mix until smooth and creamy.
- Enhance the texture: For ultra-smooth filling, press mixture through a fine-mesh sieve or process briefly in a food processor.
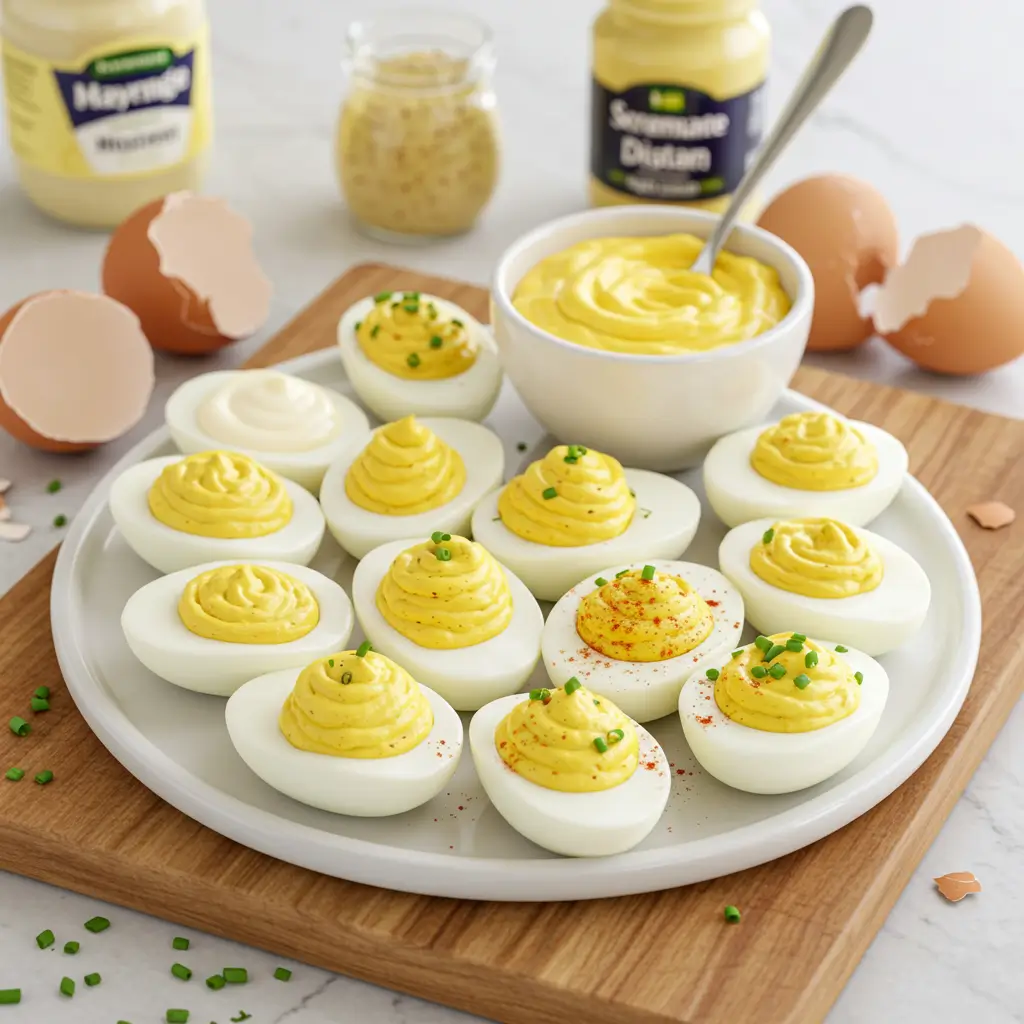
- Fill the egg whites: Using a piping bag with a star tip for elegant presentation, or simply spoon the filling into each egg white half.
- Garnish: Sprinkle with paprika and optional fresh herbs just before serving.
Pro tip: For the smoothest, creamiest deviled egg filling, ensure your egg yolks are fully cooled and your mayonnaise is at room temperature before mixing.
Troubleshooting and Advanced Techniques
Even experienced cooks encounter challenges with deviled eggs. Let’s address common issues and share professional techniques to elevate your deviled egg game.
Solving Common Deviled Egg Problems
Hard-to-Peel Eggs
Nothing frustrates a deviled egg enthusiast more than eggs that won’t peel cleanly. Try these solutions:
- Use eggs that are 7-10 days old (fresh eggs are harder to peel)
- Start peeling from the wider end where the air pocket is located
- Peel under gently running cool water
- Add 1/2 teaspoon of baking soda to your cooking water
- Use the pressure cooker method (6 minutes at high pressure with quick release)
Runny Filling
If your filling isn’t holding its shape:
- Ensure yolks are completely cooled before mixing
- Add an extra yolk or two to thicken the mixture
- Incorporate 1-2 teaspoons of softened cream cheese
- Chill the filling for 30 minutes before piping
Preventing Rubbery Egg Whites
To maintain the perfect texture:
- Never boil eggs vigorously (gentle simmer only)
- Always use an ice bath immediately after cooking
- Don’t overcook (stick to recommended times)
- Store properly (covered in refrigerator)
Make-Ahead and Storage Techniques
Deviled eggs can be prepared in advance with these professional strategies:
- 24 hours ahead: Hard-boil, peel, and halve eggs; store whites and prepared filling separately in airtight containers
- Up to 2 days ahead: Hard-boil and peel eggs; store whole in water with a splash of vinegar
- For transportation: Use specialized deviled egg carriers or place a layer of lettuce leaves in a container to prevent sliding
- Refreshing leftover deviled eggs: Sprinkle with a drop of water and cover with damp paper towel before refrigerating to prevent drying out
Creative Variations to Impress Your Guests
Once you’ve mastered the classic recipe, it’s time to explore exciting variations that will make your deviled eggs the talk of any gathering.
Global Flavor Inspirations
Mediterranean Deviled Eggs
Transform your deviled eggs with flavors from the Mediterranean:
- Add 1 tablespoon of pesto to the yolk mixture
- Mix in 2 tablespoons of crumbled feta cheese
- Garnish with a small piece of sun-dried tomato and fresh basil
Asian-Inspired Deviled Eggs
Create an unexpected fusion with these ingredients:
- Replace vinegar with 1 teaspoon rice vinegar
- Add 1/2 teaspoon sesame oil and 1/4 teaspoon soy sauce
- Garnish with sesame seeds, sliced scallions, and a tiny piece of pickled ginger
Southern Comfort Deviled Eggs
Bring southern charm to your deviled eggs:
- Add 1 tablespoon sweet pickle relish to the filling
- Mix in 1/4 teaspoon of cayenne pepper for heat
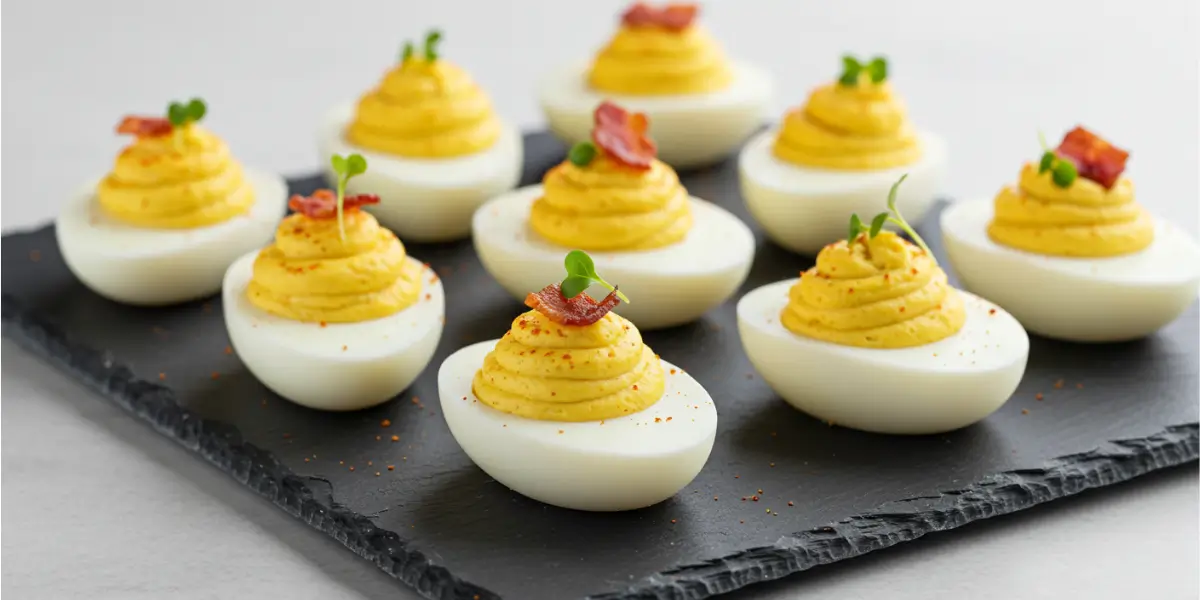
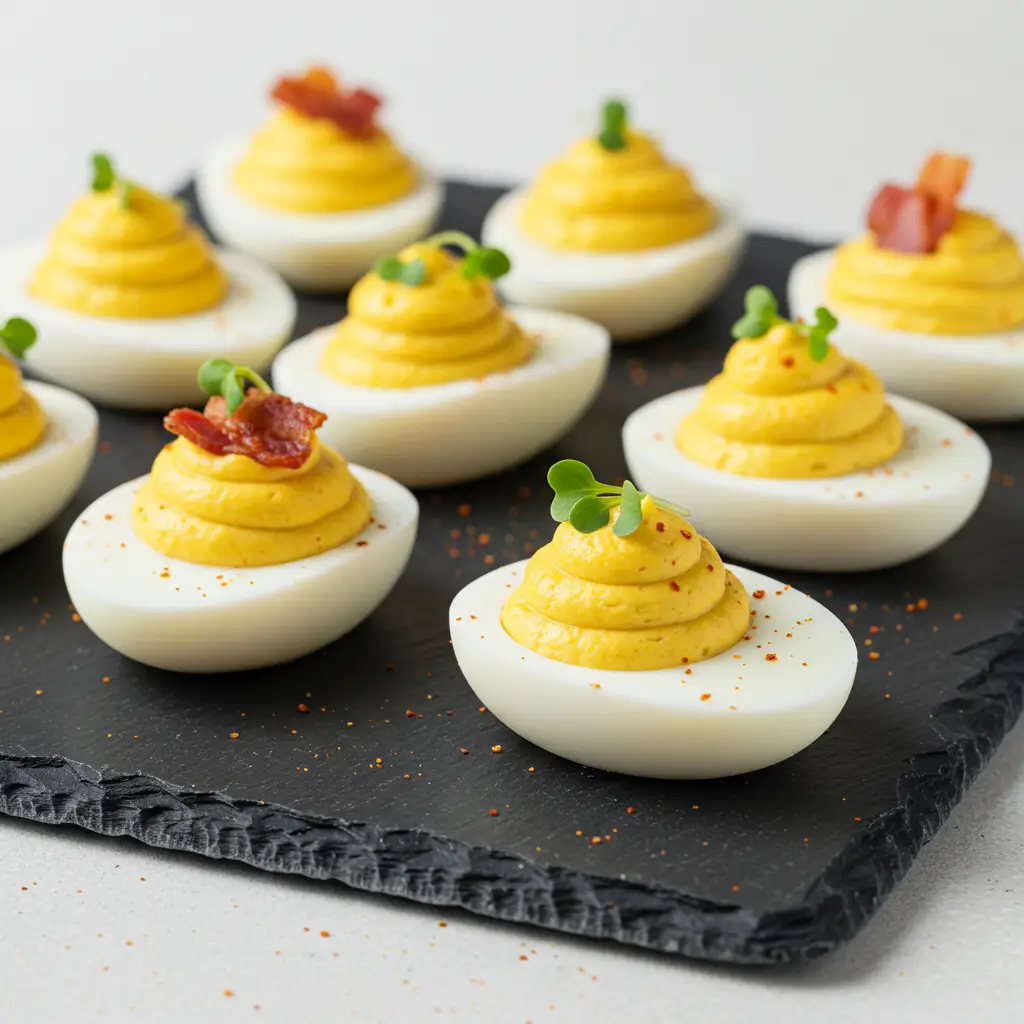
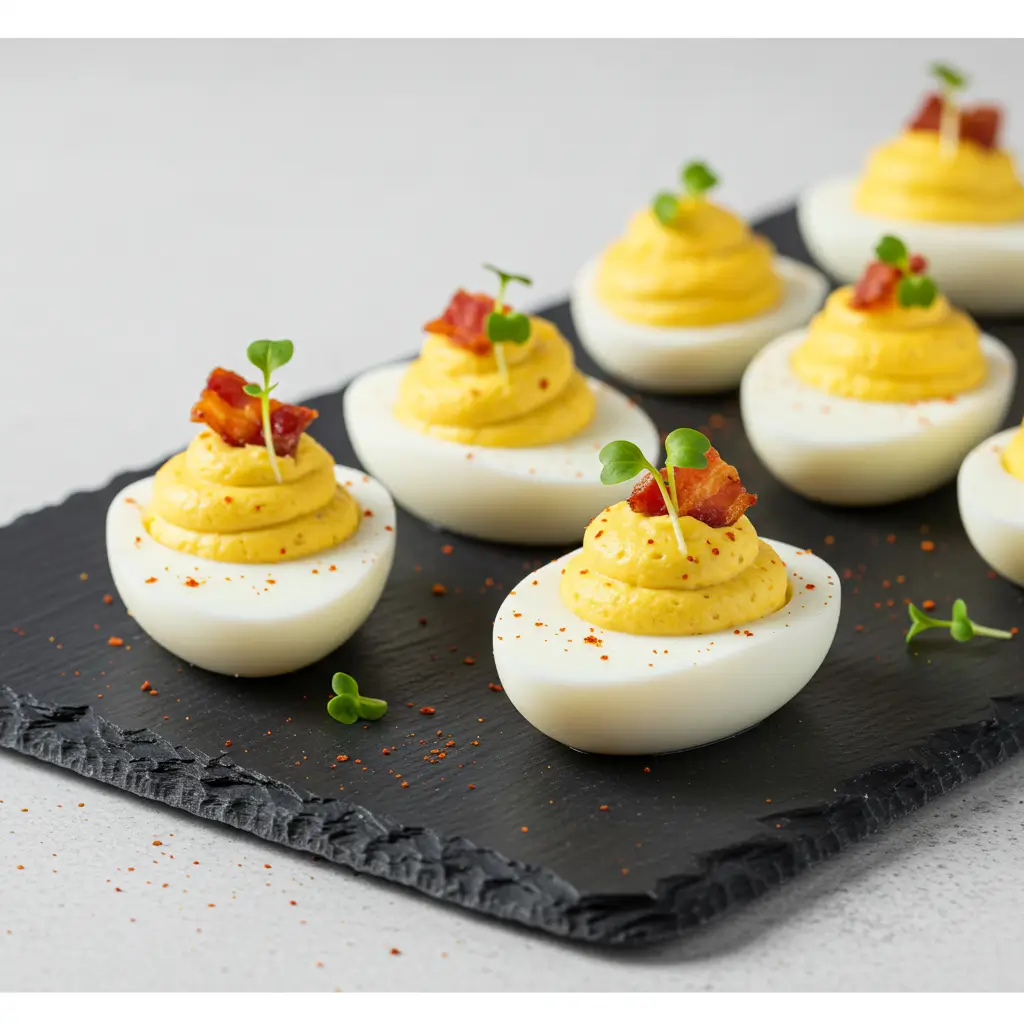
- Top with a small piece of crispy bacon and a tiny drizzle of honey
Luxury Ingredient Upgrades
Elevate your deviled eggs for special occasions with these premium additions:
| Luxury Ingredient | Amount | Pairing Suggestions |
|---|---|---|
| Truffle oil | Few drops | With chives and crème fraîche |
| Smoked salmon | 1 oz, chopped | With dill and capers |
| Caviar | Small dollop | With crème fraîche instead of mayo |
| Lobster meat | 1/4 cup, chopped | With tarragon and lemon zest |
| Avocado | 1/2, mashed | With lime juice and cilantro |
Dietary-Friendly Versions
Make deviled eggs accessible to guests with dietary restrictions:
Vegan “Deviled Eggs”
- Use silken tofu mixed with potato for the “whites”
- Create filling with chickpeas, vegan mayo, turmeric, and black salt (kala namak) for an eggy flavor
Keto Deviled Eggs
- Replace traditional mayo with avocado oil mayonnaise
- Add extra healthy fats with avocado or MCT oil
- Incorporate cream cheese for richness without added carbs
Dairy-Free Deviled Eggs
- Use olive oil-based mayonnaise
- Add nutritional yeast for a cheesy flavor without dairy
- Incorporate mustard and lemon juice for tanginess
Serving and Presentation Ideas
Elevate your deviled eggs from simple snack to showstopping appetizer with these professional presentation techniques.
Stunning Garnish Combinations
Create visual appeal with these garnish pairings:
- Micro greens + thinly sliced radish + flaky sea salt
- Crispy pancetta + chive flowers + cracked black pepper
- Pickled red onion + fresh dill + capers
- Toasted breadcrumbs + herbs de Provence + lemon zest
- Smoked paprika + cilantro + lime zest
Creative Serving Vessels
Think beyond the traditional deviled egg plate:
- Vintage teacups or small ramekins (3 eggs per vessel)
- Mason jar individual servings with egg halves stacked vertically
- Hollowed bell pepper “cups” to hold eggs upright
- Lettuce leaf “nests” on a wooden board
- Shot glasses with a spoon of caviar or flavored salt on the side
Seasonal Presentation Themes
Customize your deviled egg presentation for any occasion:
Spring/Easter
- Use natural food coloring to create pastel-colored egg whites
- Arrange on a bed of microgreens to resemble eggs in grass
- Garnish with edible flowers and herb sprigs
Summer Picnics
- Serve in mason jars for easy transport
- Create a “salad” presentation with eggs atop leafy greens
- Include pickled vegetables as accompaniments
Fall/Thanksgiving
- Dust with smoked paprika and arrange on a wooden board with autumn leaves
- Include sage leaves and pumpkin seeds as garnishes
- Serve alongside cranberry relish
Winter Holidays
- Arrange in a wreath pattern with rosemary sprigs
- Dust with paprika and finely chopped parsley for red and green effect
- Top with tiny star-shaped red pepper pieces
FAQ: Everything You Need to Know About Deviled Eggs
How far in advance can I make deviled eggs?
You can prepare deviled eggs up to 24 hours in advance, but for best results, store the egg white halves and filling separately in airtight containers in the refrigerator. Fill the eggs just before serving to prevent the whites from becoming soggy. If you must fill them ahead of time, cover tightly with plastic wrap directly touching the surface of the eggs to prevent them from drying out.
Why are they called “deviled” eggs?
The term “deviled” dates back to the 18th century and refers to the practice of adding spicy or zesty ingredients to dishes. In the case of deviled eggs, the addition of mustard, pepper, and other seasonings to the egg yolk mixture earned them this devilish name. The culinary term “deviled” was commonly used to describe highly seasoned, spicy foods, particularly those containing mustard, paprika, or other piquant ingredients.
How do I prevent my deviled eggs from sliding around on the serving plate?
To keep your deviled eggs stable on a serving plate, try these effective tricks:
- Line your serving plate with a thin layer of micro greens or finely shredded lettuce to create friction
- Use a small paring knife to slice a thin piece off the bottom of each egg white half, creating a flat surface
- Pipe a small amount of the filling onto the plate first, then set the egg white on top of it as an “adhesive”
- Invest in a specialized deviled egg serving platter with indentations designed to hold eggs in place
- For transportation, place eggs in a container lined with parchment paper that has been crumpled then flattened
Conclusion: Mastering the Art of Deviled Eggs
From humble beginnings to elegant variations, deviled eggs remain one of the most versatile and beloved appetizers for any occasion. By mastering the classic recipe, troubleshooting common issues, and exploring creative variations, you’ve now joined the ranks of deviled egg connoisseurs.
Remember that the best deviled eggs balance simplicity with creativity. The perfect hard-boiled egg, a smooth and flavorful filling, and thoughtful presentation will elevate this classic dish from ordinary to extraordinary.
Whether you’re serving them at your next family gathering, bringing them to a potluck, or preparing them as a protein-packed snack, your deviled eggs are sure to impress. Don’t be afraid to experiment with flavors while honoring the timeless appeal that has made deviled eggs a cherished classic for generations.
Now it’s your turn to put these tips and techniques into practice. Share your favorite deviled egg variations in the comments below, or tag us in your deviled egg creations on social media. We’d love to see how you’ve made this classic recipe your own!
What’s your favorite deviled egg variation? Have you tried any of the techniques shared in this article? Let us know in the comments below!
Are You Try This Recipe ?
There are no reviews yet. Be the first one to write one.
