
Marshmallow Rice Krispies Halloween Treats
Remember the sheer, uncomplicated joy of biting into a gooey, sticky, perfectly sweet Rice Krispies treat as a kid? Now, imagine infusing that nostalgic magic with the spooky, silly fun of Halloween. That’s the power of Marshmallow Rice Krispies Halloween creations. These aren’t just desserts; they’re edible crafts, a family activity, and the ultimate party pleaser all rolled into one iconic, no-bake treat. Whether you’re a busy parent looking for a simple project, a baker seeking a creative outlet, or someone who just wants to bring a smile to their neighbor’s face, this guide is your one-stop resource for transforming the classic treat into a Halloween masterpiece. Let’s dive into the cauldron and conjure up some magic!
Why Marshmallow Rice Krispies Halloween Treats Are a Must-Make
In a world of complicated recipes and endless ingredient lists, the humble Marshmallow Rice Krispies Halloween treat stands tall. Its popularity isn’t an accident; it’s built on a foundation of pure practicality and fun.
- The Easiest Halloween Project You’ll Ever Undertake: Let’s be honest, Halloween can be hectic. Between costumes, decorations, and parties, who has time for a finicky, multi-hour baking session? This is where Marshmallow Rice Krispies Halloween recipes shine. They are famously no-bake. The process is simple: melt, mix, press, and decorate. This makes them the perfect, low-stress activity to do with children of all ages. Little hands can help stir the cereal in and press the mixture into the pan, fostering a sense of accomplishment and building wonderful holiday memories.
- A Blank Canvas for Your Spooky Creativity: The classic beige treat is just the beginning. The basic Marshmallow Rice Krispies Halloween mixture is incredibly versatile. You can dye it with food coloring to create orange pumpkins, green monsters, or purple ghosts. You can mold it into any shape imaginable with cookie cutters or by hand. It holds sprinkles, candy eyes, and chocolate chips beautifully. This limitless potential for customization means you can create an entire graveyard scene, a platter of creepy crawlies, or a fleet of friendly ghosts with just one batch of the base recipe.
Halloween Rice Krispies treats
Ingredients
Method
- Prepare the Pan: Line a 9×13 inch baking pan with parchment paper, leaving an overhang on two sides for easy removal. Alternatively, grease the pan lightly with butter.
- Melt Butter and Marshmallows: In a large saucepan, melt the butter over low heat. Add the entire bag of mini marshmallows and stir continuously until completely melted and smooth.
- Add Flavor: Remove the saucepan from the heat. Immediately stir in the vanilla extract and salt.
- Combine with Cereal: Quickly add the 6 cups of Rice Krispies cereal. Gently fold until every piece of cereal is thoroughly coated in the marshmallow mixture.
- Press into Pan: Transfer the mixture to the prepared pan. Using a sheet of parchment paper or buttered hands, gently press the mixture into an even layer. Avoid over-packing to keep the treats soft.
- Cool and Set: Allow the treats to cool and set completely at room temperature for at least 1-2 hours.
- Cut and Decorate: Once set, use the parchment paper to lift the entire slab from the pan. Cut into squares or use Halloween-themed cookie cutters to create shapes. Decorate with melted chocolate, sprinkles, and candy eyes as desired.
Crafting the Perfect Base: The Essential Marshmallow Rice Krispies Halloween Recipe
Every great creation starts with a solid foundation. While the recipe on the cereal box is a classic, a few pro-level tweaks can take your treats from good to legendary. This is the foolproof base for all your Marshmallow Rice Krispies Halloween ideas.
Gathering Your Ingredients & Tools
Before you begin, having everything ready is key, as the process moves quickly once the marshmallows are melting.
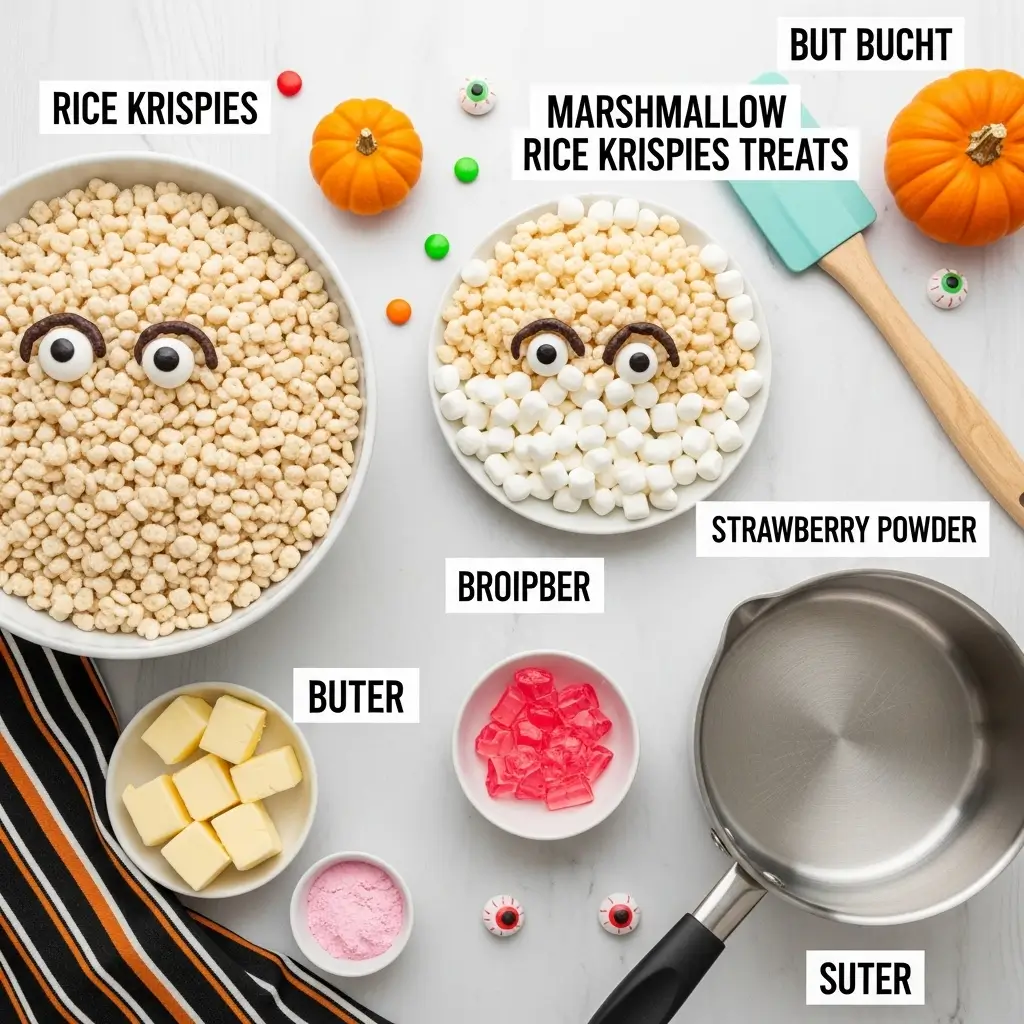
Ingredients Table:
| Ingredient | Quantity | Purpose & Notes |
|---|---|---|
| Unsalted Butter | 3 tablespoons | For richness and to prevent sticking. Salted butter works too, but may alter the flavor slightly. |
| Mini Marshmallows | 1 (10 oz) bag | Pro Tip: Mini marshmallows melt faster and more evenly than large ones. |
| Vanilla Extract | 1/2 teaspoon | Adds a subtle depth of flavor that elevates the entire treat. |
| Rice Krispies Cereal | 6 cups | The star of the show! Make sure it’s fresh for the best snap, crackle, and pop. |
| Pinch of Salt | 1/4 teaspoon | Balances the sweetness and enhances the other flavors. |
Essential Tools: Large saucepan, sturdy wooden spoon or silicone spatula, 9×13 inch baking pan, parchment paper or non-stick spray.
The Step-by-Step Process for Foolproof Treats
Follow these steps closely for a perfect, non-sticky, and easy-to-shape batch every single time.
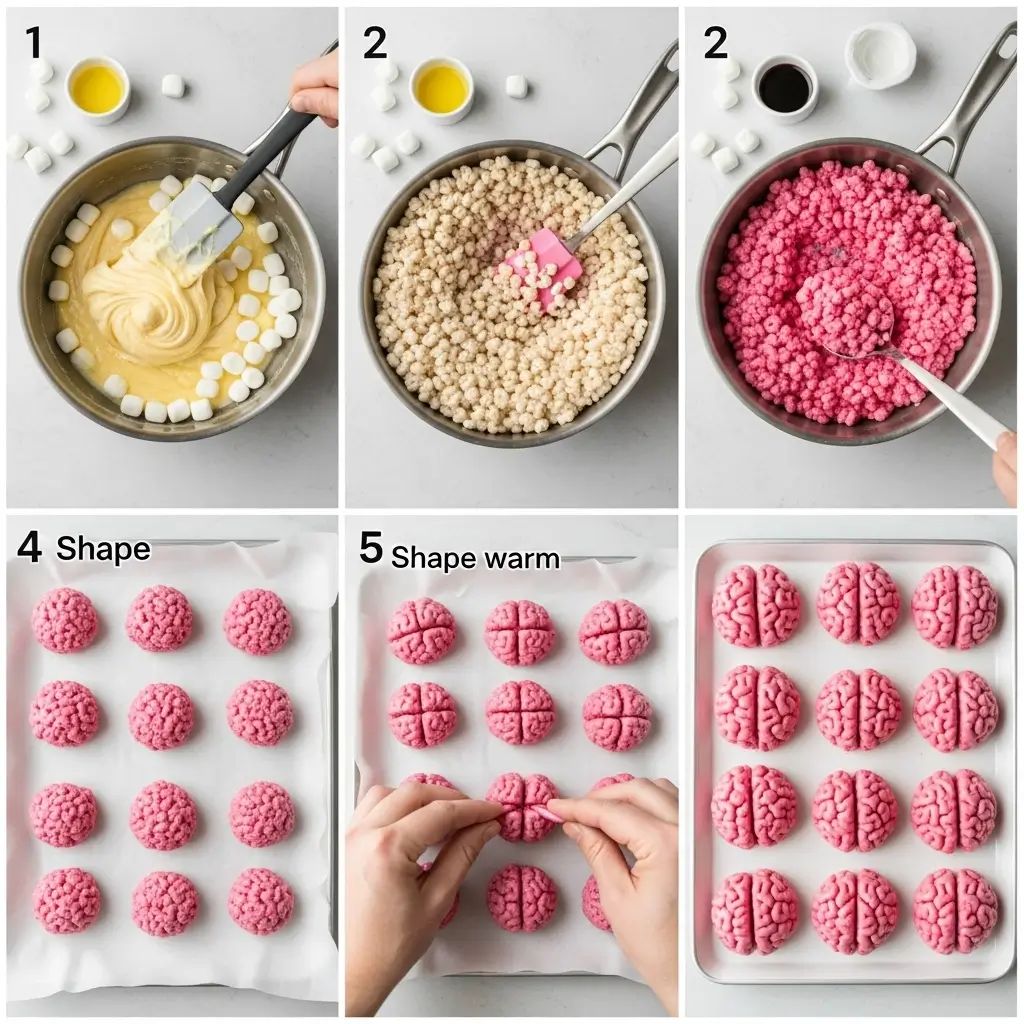
- Prepare Your Pan: Line your 9×13 inch pan with parchment paper, leaving some overhang on two sides. This creates a “sling” that makes removing the entire block of treats incredibly easy. If you don’t have parchment, generously grease the pan with butter or non-stick spray.
- Melt with Care: In your large saucepan, melt the butter over low heat. Once melted, add the entire bag of mini marshmallows. Stir continuously until the marshmallows are completely melted and smooth. Do not rush this process! High heat will burn the marshmallows and create a tough, chewy treat.
- Combine and Flavor: As soon as the marshmallow mixture is smooth, remove the saucepan from the heat. Immediately stir in the vanilla extract and pinch of salt.
- Add the Cereal: Quickly add the 6 cups of Rice Krispies cereal. Gently fold until every piece of cereal is thoroughly coated in the marshmallow mixture. Be careful not to over-stir and crush the cereal.
- Press, Don’t Pack: Transfer the mixture to your prepared pan. Using a sheet of parchment paper or buttered hands, gently press the mixture into an even layer. Avoid compacting it too much a light press will yield a treat that is chewy yet light. Over-packing will make it hard and dense.
Allow the treats to cool and set completely at room temperature for at least 1-2 hours before cutting or decorating.
Boo-tiful Ideas: Transforming Your Base into Spooky Marshmallow Rice Krispies Halloween Creations
This is where the real fun begins. Your perfectly set base is now ready to be transformed into a spooky spectacle. Here are some of the most popular and adorable Marshmallow Rice Krispies Halloween designs.
Classic Cookie Cutter Shapes
This is the simplest and most effective way to create themed treats. It’s perfect for making a large batch for a school party or neighborhood gathering.
- The Process: Once your large slab of treats has set, use Halloween-themed cookie cutters (bats, ghosts, pumpkins, cats) to cut out shapes. Press down firmly and lift away the excess. You can then re-roll the scraps to create more shapes.
- Decoration Ideas: This is where you can get creative. Dip the tops of ghost shapes in melted white chocolate or white candy melts. Use black icing to draw on faces. For pumpkins, a light dusting of orange sprinkles or a mix of cinnamon and sugar while the marshmallow is still slightly warm can create a perfect pumpkin hue. A piece of a green sour belt or a green M&M makes a great stem.
Hand-Formed Monsters and Critters
For a more free-form and playful approach, skip the cookie cutters and use your hands to sculpt the Marshmallow Rice Krispies Halloween mixture.
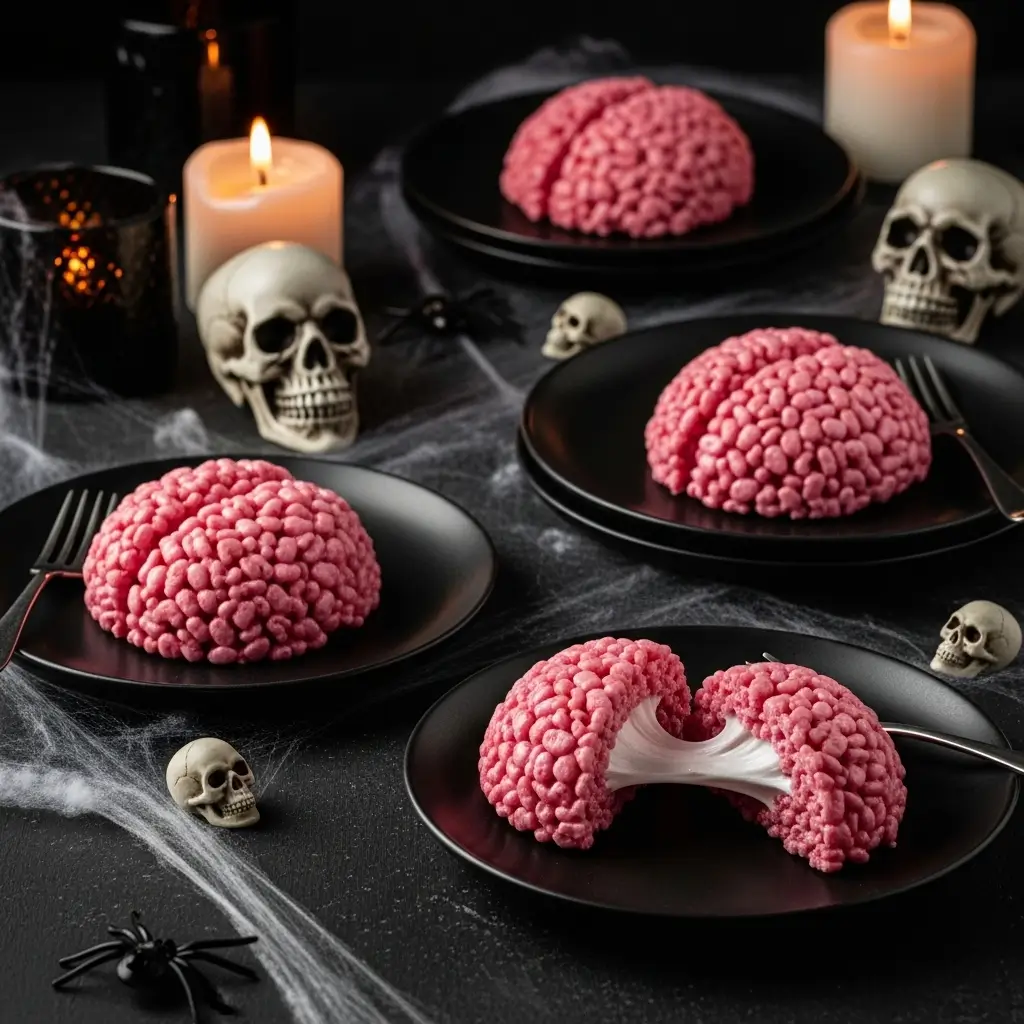
- Spider Web Treats: Press the warm mixture into a greased round bowl or small pan to create a dome shape. Once set, invert it onto a plate. Melt chocolate chips and place them in a piping bag or a zip-top bag with a tiny corner snipped off. Pipe concentric circles on the dome, then use a toothpick to drag lines from the center out to create a web effect.
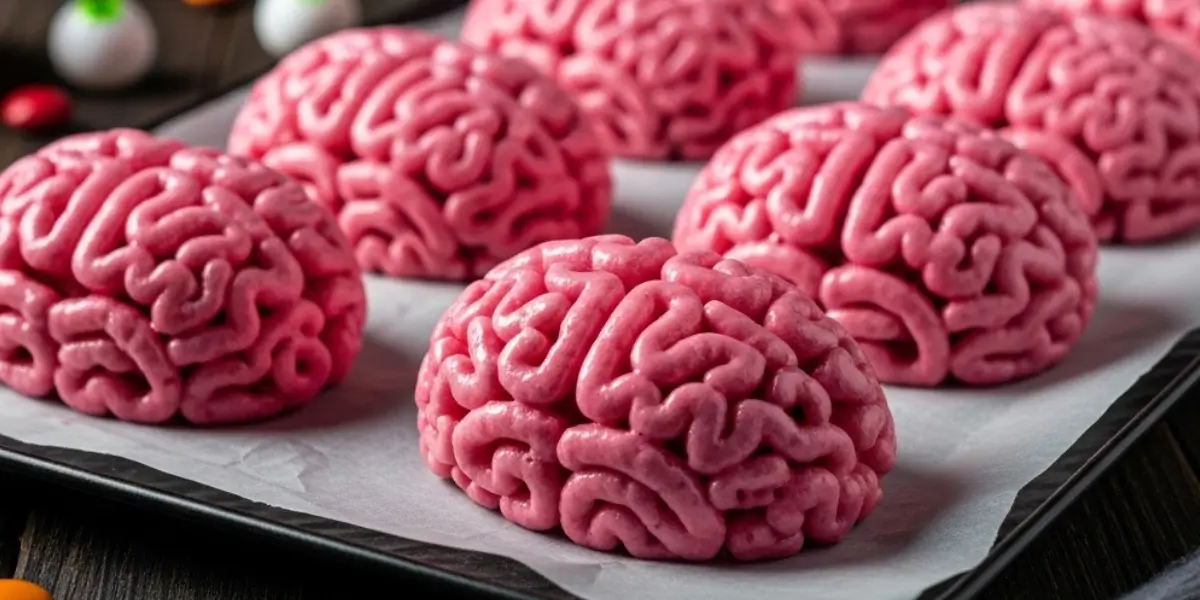
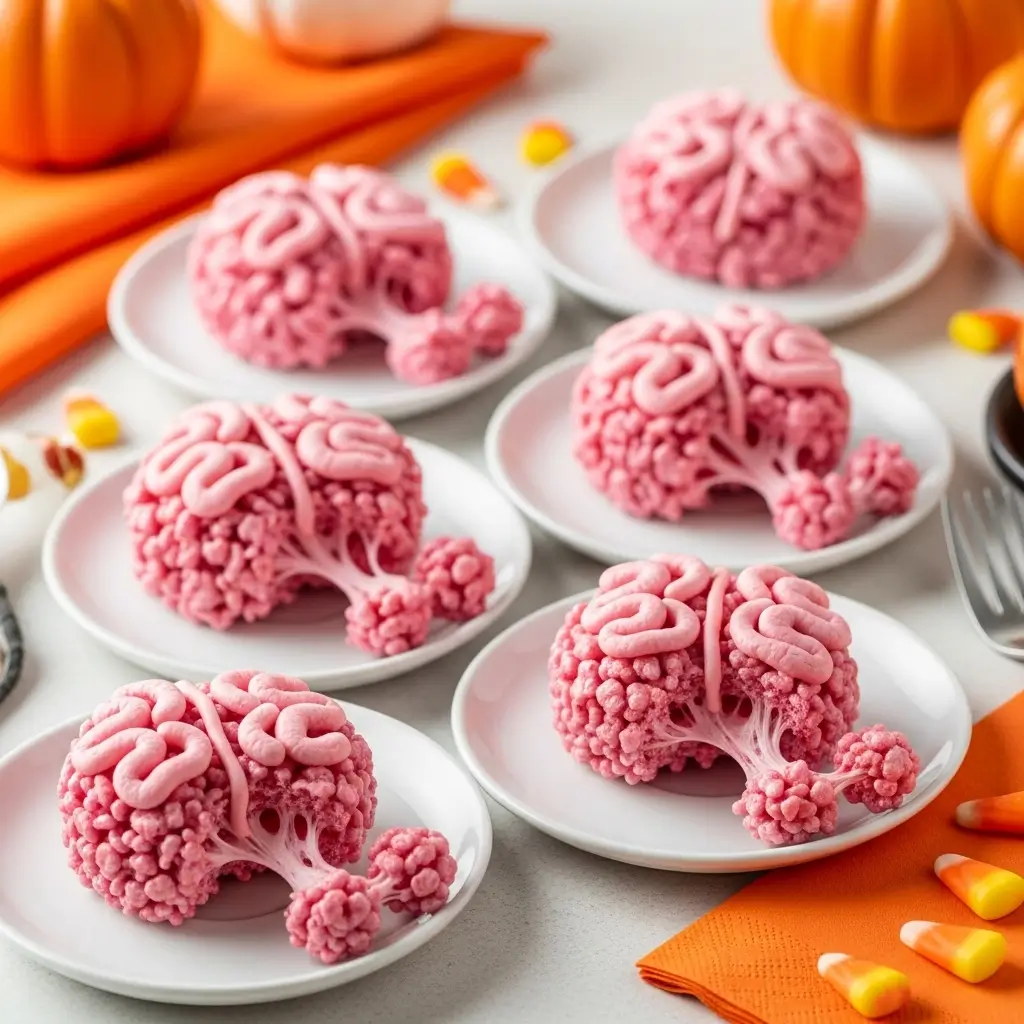
- Monster Mash: Take small portions of the mixture and form them into rough, amorphous blobs. Before they fully set, press in candy eyes, use licorice laces for mouths, and poke in chip sticks for arms. You can dye the base mixture different colors with food gel to create a whole family of friendly monsters.
To help you plan your decorating, here’s a quick-reference table for popular ideas:
Halloween Decorating Idea Table:
| Design Idea | Base Color | Key Decorations | Pro Tip |
|---|---|---|---|
| Friendly Ghosts | White | Candy eyes, black icing | Use a ghost-shaped cookie cutter or mold with your hands. |
| Jack-O-Lanterns | Orange (add food dye) | Green M&M/Sprinkle for stem, black icing for face | Add a tiny bit of cinnamon to the mix for a “pumpkin spice” flavor. |
| Creepy Bats | Black (add black food dye) | Candy eyes, white chocolate fangs | Be careful with black food dye it can stain! Use gloves. |
| Witch Hats | Black or Purple | Orange sprinkles for a band, sugar cone | Attach a sugar cone upside down to a treat round with melted chocolate. |
| Mummy Wraps | White | Candy eyes, melted white chocolate “bandages” | Pipe the white chocolate in zig-zag lines to look like wrapped cloth. |
Conclusion: Create, Decorate, and Celebrate!
The journey of creating Marshmallow Rice Krispies Halloween treats is one filled with joy, creativity, and delicious rewards. We’ve explored why they are the perfect festive project, perfected the base recipe with pro tips, and unlocked a treasure trove of decorating ideas to make your treats the talk of the town. This Halloween, go beyond the ordinary. Embrace the sticky, sweet, and spooky fun of turning a classic childhood snack into an unforgettable seasonal tradition. The only limit is your imagination.
So, gather your ingredients, put on your apron, and get ready to make some magic. Your spooktacular Marshmallow Rice Krispies Halloween creations are waiting to happen!
Frequently Asked Questions (FAQ)
Q1: How far in advance can I make my Marshmallow Rice Krispies Halloween treats?
You can make your Marshmallow Rice Krispies Halloween treats 1-2 days in advance. For the best texture and freshness, store them in an airtight container at room temperature. If you are using perishable decorations like cream cheese frosting, refrigerate them.
Q2: My treats always turn out rock hard. What am I doing wrong?
The most common culprit is overheating the marshmallows. Always melt the butter and marshmallows over low heat. High heat causes the sugar in the marshmallows to crystallize, leading to a hard, chewy texture. Also, avoid over-packing the mixture into the pan; a gentle press is all you need.
Q3: What’s the best way to color my Marshmallow Rice Krispies Halloween batch?
The best time to add color is right after the marshmallows have melted and you’ve taken the saucepan off the heat. Stir in gel-based food coloring at this stage. Gel coloring is preferred over liquid because it provides vibrant color without altering the texture of your marshmallow mixture. This is the perfect technique for creating orange pumpkins or green Frankenstein Marshmallow Rice Krispies Halloween monsters.
Ready to get started? We’d love to see your creepy creations! Share your Marshmallow Rice Krispies Halloween masterpieces with us on social media by tagging us. Happy Halloween!
Marshmallow Rice Krispies Halloween
Read what others think about this spooky treat recipe
